Ah, the gentle rhythm of dip, cool, dip, cool… There’s something almost hypnotic about crafting dipped beeswax candles, isn’t there? Did you know this method dates back over 1,500 years?
The ancient Romans were among the first to perfect this technique, creating candles that were not just sources of light, but works of art. Today, we’re diving into this time-honored tradition, bringing a touch of history right into your crafting space.
Whether you’re a seasoned chandler or a curious beginner, get ready to immerse yourself in the warm, golden world of dipped beeswax candles. Let’s light up your crafting journey with this beautifully simple yet rewarding technique!
- The Basics Of Dipped Beeswax Candles: Understanding The Craft
- Preparing For The Dipping Process: Setting Up Your Workspace
- The Art Of Dipping: Techniques For Perfect Beeswax Tapers
- Beyond Basic Tapers: Creative Variations In Dipped Candles
- Finishing Touches: Perfecting Your Dipped Beeswax Candles
- The Meditative Aspect: Embracing The Rhythm Of Candle Dipping
- The Final Buzz
The Basics Of Dipped Beeswax Candles: Understanding The Craft
When I first tried dipping candles, I felt like I’d stepped back in time. It’s an old-school technique, but man, is it satisfying!
Historical Background Of Candle Dipping
Did you know people have been dipping candles for centuries? I didn’t until I got into it. Ancient Romans were doing this way back when. It’s pretty cool to think I’m carrying on a tradition that’s older than sliced bread.
Advantages Of Dipped Candles Over Molded Ones
I love my molded candles, but dipped ones have a charm all their own. They burn longer and more evenly. Plus, there’s something meditative about the dipping process. It’s like yoga, but with wax.
Essential Equipment For Dipped Beeswax Candles
You don’t need much to get started. A deep, narrow container for melted wax is key. I use an old coffee can. You’ll also want some weights for the wicks. I started with washers from the hardware store.
Choosing The Right Beeswax For Dipping
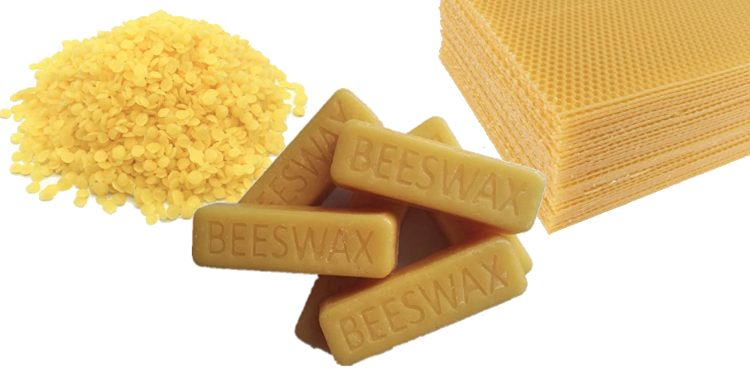
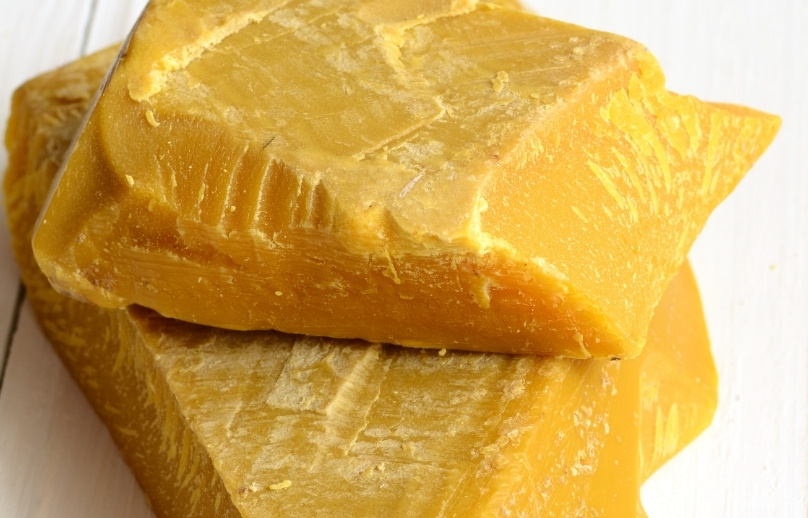
Not all beeswax is created equal. Look for pure, filtered beeswax. The stuff straight from the hive can have bits of bee in it. Trust me, that’s not what you want in your candles.
Safety Considerations In The Dipping Process
Hot wax is no joke. I always keep a fire extinguisher nearby and wear long sleeves. And never, ever leave your melting wax unattended. I did that once and nearly set my kitchen on fire. Lesson learned!
Preparing For The Dipping Process: Setting Up Your Workspace
Alright, let’s talk about getting ready to dip some candles. Trust me, a little prep goes a long way in making this process smooth sailing.
Creating A Proper Dipping Station
I learned that it’s best to have a dedicated space. My first attempt was in my tiny kitchen – big mistake. Now I use a folding table in the garage. It’s sturdy, heat-resistant, and I don’t have to worry about wax drips on the floor.
Melting And Maintaining Beeswax Temperature
Temperature control is crucial. I use a double boiler setup to melt my wax, aiming for about 160°F. A candy thermometer is your best friend here. Too hot, and you’ll get brittle candles. Too cool, and they’ll be lumpy.
Selecting And Preparing Wicks For Dipping
Choosing the right wick took some trial and error. I prefer cotton core wicks for beeswax. Soak them in melted wax before you start dipping – it helps them stay straight and catch the wax better.
Organizing Your Cooling Area
You need a spot for your candles to cool between dips. I rigged up a simple rack using a wooden board and some nails. It keeps the candles straight and lets air circulate around them.
Tips For Efficient Workflow In Candle Dipping
Dipping is all about rhythm. I like to work in batches of 6-8 candles at a time. While one set is cooling, I’m dipping the next. It keeps the process moving and stops me from getting impatient and rushing things.
The Art Of Dipping: Techniques For Perfect Beeswax Tapers
I’ll never forget my first attempt at dipping candles. Let’s just say they looked more like lumpy carrots than elegant tapers. But with practice, I’ve honed my technique.
The Basic Dipping Method: Step-By-Step Guide
It’s all about consistency. I dip the wick, count to three, and pull it out slowly. Then I let it cool for about 30 seconds before the next dip. Rinse and repeat until you get the thickness you want.
Controlling Candle Thickness Through Dipping
This took me ages to figure out. The secret? More dips with less cooling time between for thinner candles, fewer dips with longer cooling for thicker ones. It’s a balancing act, but you’ll get the hang of it.
Techniques For Even Wax Distribution
Rotate your candles between dips. I give mine a quarter turn each time. And don’t rush the pull-out – a slow, steady hand is key to avoiding drips and uneven spots.
Creating Tapered Ends And Bases
For nice tapered ends, I dip a little deeper on the first few goes. For the base, I do a quick, shallow dip at the end. It takes practice, but it makes your candles look so professional.
Troubleshooting Common Dipping Issues
Lumps? Try a quicker pull-out. Crooked candles? Check your wick tension. Candles not thick enough? Your wax might be too hot. Don’t get discouraged – every “oops” is a chance to learn!
Beyond Basic Tapers: Creative Variations In Dipped Candles
Once I mastered basic tapers, I got a bit adventurous. Let me tell you about some fun twists I’ve tried on dipped candles.
Multi-Colored Layered Dipped Candles
This is where the magic happens! I start with one color, then switch to another partway through. The trick is to let each layer cool completely before dipping in the next color. I once made rainbow candles for Pride month – they were a hit!
Adding Texture And Patterns While Dipping
Ever tried dipping a candle in ice water between wax layers? It creates this cool crackled effect. I’ve also experimented with dragging a fork through the wax while it’s still soft for some funky lines.
Scenting Dipped Beeswax Candles
Beeswax smells great on its own, but sometimes I like to add a little something extra. I mix essential oils into the melted wax. Just be careful not to add too much – it can affect how the candle burns.
Creating Unique Shapes Through Dipping
Who says dipped candles have to be straight? I’ve made spiral candles by twisting the wick as the wax cools. It takes practice, but the results are pretty cool.
Decorative Finishes For Dipped Candles
For a final touch, I sometimes roll my still-warm candles in things like dried herbs or edible glitter. Just a light dusting can make them look really special. Great for gifts!
Remember, half the fun is in experimenting. Some of my best creations came from happy accidents!
Finishing Touches: Perfecting Your Dipped Beeswax Candles
Let me tell you, there’s nothing quite like the satisfaction of putting those final touches on your homemade beeswax candles. I’ve been at this candle-making gig for years, and I’ve learned a thing or two about making them look pro.
Trimming And Shaping The Finished Candles
First things first, grab those scissors! You wanna snip off any wonky bits at the bottom of your candle. Trust me, I’ve left them before, and they just look messy when lit. A clean base makes all the difference.
Smoothing And Polishing Techniques
Now, here’s a little trick I picked up: use a hair dryer on low heat to gently smooth out any bumps. Just don’t get too trigger-happy – I melted a whole batch once by getting overzealous!
Adding Decorative Elements Post-Dipping
Wanna jazz things up? Try pressing dried flowers into the still-warm wax, it really elevates the look. Just be careful not to burn your fingers like I did the first time.
Proper Curing And Storage Of Dipped Candles
Patience is key, my friends. Let those babies cure for at least 24 hours in a cool, dry place. I learned that rushing this step can lead to weird warping.
Packaging Ideas For Gifting Or Selling
If you’re giving these beauties away, presentation is everything. I like using kraft paper and twine for a rustic look. It’s simple but effective – and way better than that time I tried fancy ribbons and made a tangled mess!
Remember, practice makes perfect. Don’t be too hard on yourself if they’re not Instagram-worthy right away. Keep at it, and you’ll be a beeswax boss in no time!
The Meditative Aspect: Embracing The Rhythm Of Candle Dipping
You know, when I first started dipping candles, I had no idea it would become my go-to zen activity. It’s funny how life surprises you sometimes.
Mindfulness And Candle Dipping
There’s something almost hypnotic about the process. Dip, lift, wait. Repeat. It’s like a dance with wax and wick. I used to rush through it, but now I savor each dip. It’s taught me to slow down and breathe.
Creating A Calming Dipping Environment
I’ve set up a little nook in my garage for candle-making. Soft lighting, a comfy chair, and some quiet tunes. It ain’t fancy, but it’s my happy place. Pro tip: keep a window cracked. Learned that after nearly hotboxing myself with beeswax fumes!
Incorporating Rituals Into Your Dipping Process
Before I start, I light a candle I made previously. It’s my way of setting intentions. Sounds a bit woo-woo, I know, but it helps me focus.
The Therapeutic Benefits Of Repetitive Crafting
On tough days, I head straight for my dipping station. The repetitive motion is like a reset button for my brain. It’s cheaper than therapy and smells way better!
Sharing The Dipping Experience: Group Activities
Recently, I invited some friends over for a dipping party. We laughed, chatted, and made a mess. But you know what? Those imperfect candles are now my favorites. They hold memories.
Candle dipping isn’t just about making something beautiful. It’s about finding peace in the process. Give it a try – you might just dip your way into a calmer state of mind.
The Final Buzz
And there you have it – the illuminating world of dipped beeswax candles! From the soothing rhythm of the dipping process to the satisfaction of creating perfectly tapered candles, this ancient craft offers so much more than just a source of light.
It’s a journey into history, a meditative practice, and a way to create something truly unique with your own hands. Why not gather some friends and make an evening of it?
After all, there’s something magical about sharing the warm glow of candles you’ve crafted yourself. So, dip into this timeless tradition, let your creativity shine, and watch as your handmade tapers light up not just your space, but your spirit too.
Happy dipping, and may your candles burn as brightly as your passion for this beautiful craft!


