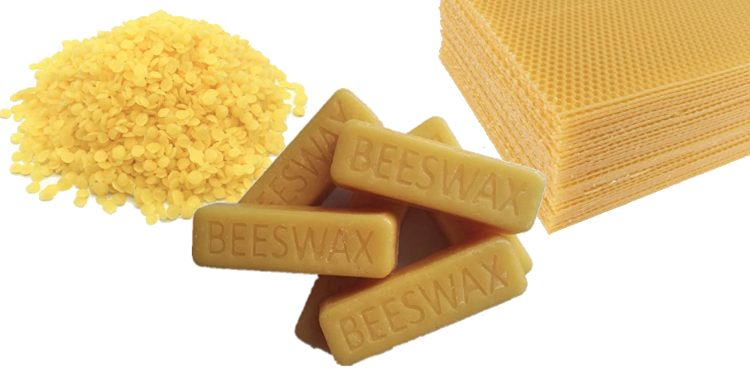
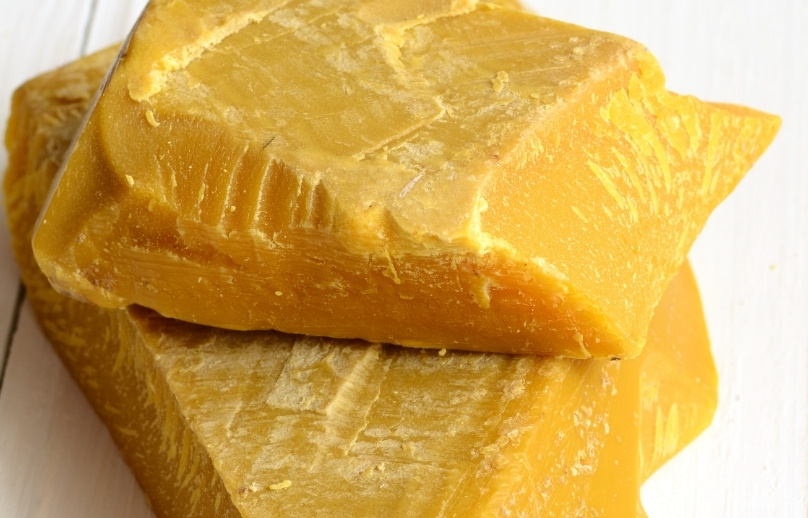
Ever wondered why your great-grandfather’s leather jacket still looks amazing? The secret might just be buzzing around your garden! That’s right – beeswax, nature’s wonder product, has been a go-to for leather care for centuries.
Did you know that ancient Egyptians used beeswax to waterproof and preserve leather as far back as 4,000 years ago? Talk about standing the test of time!
Whether you’re a vintage leather enthusiast, a DIY lover, or simply someone who wants to give their favorite leather items some TLC, beeswax might just become your new best friend. So, let’s saddle up and explore the wonderful world of beeswax leather conditioning – your boots, bags, and belts will thank you!
Why Beeswax Is A Leather’s Best Friend
Let me tell you, beeswax has been a game-changer in my leather care routine. I stumbled upon it years ago when trying to revive an old leather jacket, and I’ve never looked back. It’s like finding a secret weapon for your favorite leather goods.
Natural Waterproofing Properties
I learned about this the hard way when I got caught in a downpour with my new leather boots. After treating them with beeswax, they shrugged off water like it was nothing. It’s pretty amazing to watch water bead up and roll right off.
Moisturizing Effects On Dry Leather
You know how your hands get when they’re super dry? Leather can get like that too. I once had a leather bag that was so parched, it started to crack. Beeswax brought it back from the brink, seeping into the pores and keeping it supple.
Protective Barrier Against Dirt And Stains
This one’s a lifesaver, especially if you’re clumsy like me. I used to panic every time I spilled something near my leather couch. Now? I just wipe it off, no problem. The beeswax creates a barrier that gives you precious seconds to clean up before stains set in.
Enhancing Leather’s Natural Luster
There’s nothing quite like the soft sheen of well-cared-for leather. Beeswax brings out its natural beauty without making it look artificial. I’ve had people ask if my old leather briefcase was new after I started using beeswax on it regularly.
Eco-Friendly Alternative To Synthetic Conditioners
As someone who tries to be environmentally conscious, I love that beeswax is a natural product. No weird chemicals or artificial stuff. Plus, a little goes a long way, so you’re not constantly buying new products. It’s a win-win for your wallet and the planet.
Types Of Leather Suitable For Beeswax Conditioning
Over the years, I’ve learned that not all leather plays nice with beeswax. It’s been a journey of trial and error, and boy, have I made some mistakes along the way. But that’s how we learn, right?
Full-Grain Leather Benefits
Full-grain leather and beeswax are like a match made in heaven. I remember the first time I used beeswax on my full-grain leather boots – it was like watching them come back to life. This type of leather loves soaking up beeswax, and the results are always stunning.
Top-Grain Leather Considerations
Now, top-grain leather is a bit trickier. I learned this the hard way when I slathered beeswax all over my top-grain leather jacket without testing first. Rookie mistake! It can still benefit from beeswax, but you’ve got to be more careful with it.
Suede And Nubuck Precautions
Let me save you some heartache – suede and beeswax don’t mix. I ruined a perfectly good pair of suede shoes thinking I could treat them like my other leathers. Same goes for nubuck. These delicate leathers need special care, not beeswax.
Exotic Leathers: Special Care Notes
I once had a snakeskin belt that I thought I’d treat like my other leathers. Big mistake. Exotic leathers are finicky creatures. Some might be okay with a tiny bit of beeswax, but others? You could ruin them. When in doubt, ask a pro.
Vegetable-Tanned Vs Chrome-Tanned Leather
Here’s a fun fact I picked up along the way: vegetable-tanned leather loves beeswax. It soaks it up beautifully. Chrome-tanned? Not so much. It’s more resistant. I use way less on my chrome-tanned stuff, if at all. It pays to know what you’re working with.
Preparing Your Beeswax Leather Conditioner
After years of experimenting, I’ve finally nailed down my beeswax conditioner recipe. It’s been a journey of trial and error, but that’s half the fun, right?
Pure Beeswax Vs Beeswax Blends
I started with pure beeswax, but found it a bit tough to work with. Now, I prefer blends. They’re easier to apply and can offer extra benefits. Just make sure you’re not cutting corners on quality – I learned that lesson the hard way.
Adding Oils For Enhanced Conditioning
Adding oils to your beeswax mix is like giving your leather a superfood smoothie. I love coconut oil for its moisturizing properties, and jojoba oil for a more luxurious feel. Just a little goes a long way – trust me, I’ve overdone it before!
Proper Ratios For Different Leather Types
Getting the ratio right is crucial. Too much wax, and you’ll end up with a sticky mess. Too little, and you’re not getting the full benefit. I use more oil for stiffer leathers, more wax for softer ones. It’s all about balance.
Melting And Mixing Techniques
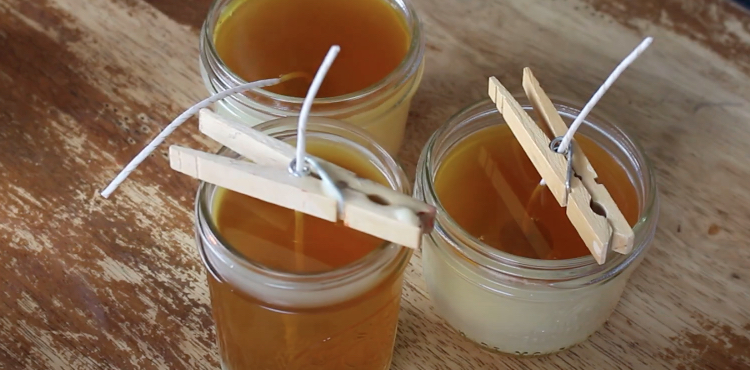
Double boiler method all the way. I learned the hard way that direct heat can ruin your mix. Patience is key here. Stir gently and consistently. And for heaven’s sake, don’t let water get in there!
Storage And Shelf Life Of Homemade Conditioners
I store mine in a cool, dark place. It lasts longer that way. I once left a batch in a sunny spot – big mistake. It separated and never worked right again. Most blends last about 6 months to a year if stored properly.
Step-By-Step Application Guide
Alright, let’s get down to business. Over the years, I’ve perfected my beeswax application technique. It’s not rocket science, but there are definitely some tricks to getting it right.
1. Cleaning Leather Before Conditioning
Always start with clean leather. I use a slightly damp cloth to wipe away dirt. One time, I skipped this step and ended up sealing in some grime. Not a good look, let me tell you.
2. Testing On A Small, Inconspicuous Area
I learned this the hard way: always test first! I ruined a perfectly good pair of shoes by not testing. Now, I always try a small spot, usually on the inside, before going all in. It’s saved me from some potential disasters.
3. Proper Application Techniques
I use a soft cloth or my fingers to apply. Gentle, circular motions work best. Don’t glob it on – a thin, even layer does the trick. I once applied too much and had a slippery mess on my hands (literally).
4. Working The Conditioner Into The Leather
This is where patience pays off. Take your time working it in. I like to think of it as giving my leather a little massage. The more you work it, the better it absorbs. Trust me, your leather will thank you for the extra attention.
5. Buffing For A Perfect Finish
After letting it sit for a bit (I usually wait about 15 minutes), I buff with a clean cloth. This step makes all the difference. It removes excess product and leaves a beautiful, subtle shine. Don’t skip this – I did once, and my jacket looked greasy for days.
Frequency And Best Practices
Over the years, I’ve fine-tuned my conditioning routine. It’s not just about slapping on some beeswax whenever you feel like it – there’s a method to the madness.
How Often To Condition Different Leather Items
It really depends on use. My everyday bag? Every 3-4 months. My fancy dress shoes? Maybe twice a year. I used to over-condition everything, but that just leads to buildup. Now I pay attention to how often I use each item.
Seasonal Conditioning Considerations
I always condition before winter hits. The cold can be harsh on leather. In summer, I’ll do a light conditioning if it’s been extra hot and dry. One summer I skipped it, and my leather car seats started to crack. Never again!
Signs Your Leather Needs Conditioning
If it feels dry or starts to look dull, it’s time. I once let a belt go too long without care – it got so stiff it actually cracked when I bent it. Now I pay closer attention to how my leather feels and looks.
Avoiding Over-Conditioning Pitfalls
There is such a thing as too much love. Over-conditioning can make leather soft and stretchy. I ruined a wallet this way – it got so floppy it wouldn’t hold its shape. Now I err on the side of less is more.
Maintaining A Regular Care Routine
Consistency is key. I set reminders on my phone now. It’s easier to maintain than to rescue neglected leather. Trust me, your future self will thank you for staying on top of it.
Beeswax Vs Commercial Leather Conditioners
I’ve tried it all, from fancy brands to DIY concoctions. Here’s my honest take on beeswax versus store-bought stuff.
Cost Comparison And Long-Term Value
Beeswax might seem pricier upfront, but it lasts forever. I’m still using a block I bought two years ago. Commercial conditioners run out fast, and the costs add up. In the long run, beeswax is easier on your wallet.
Environmental Impact Considerations
Most commercial conditioners come in plastic bottles. With beeswax, there’s virtually no waste. Plus, it’s all-natural. Feels good to use something that’s not harming the planet, you know?
Customization Options With Natural Ingredients
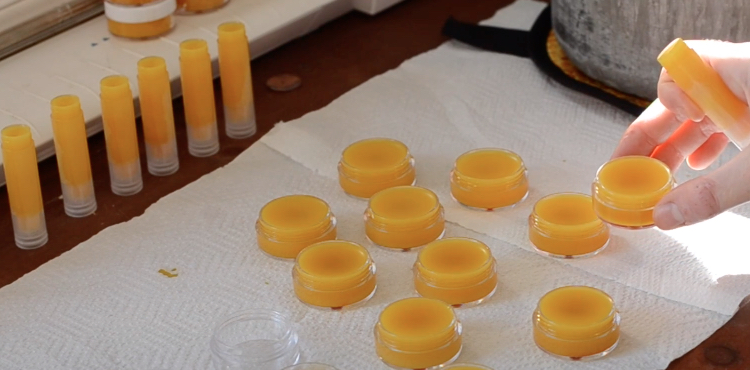
This is where beeswax shines. I can add essential oils for scent or different oils for various effects. Can’t do that with store-bought stuff. It’s like having a custom leather spa treatment right at home.
Potential Allergenic Concerns
Some people are sensitive to beeswax. I’m not, but a friend of mine is. Always good to patch test. Commercial products can have all sorts of ingredients that might cause reactions, so be careful.
Effectiveness On Different Leather Finishes
Beeswax works wonders on most natural leathers. But for some finishes, especially modern, coated leathers, commercial products might be better. I use beeswax on my vintage stuff and a commercial conditioner on my high-gloss shoes.
Troubleshooting Common Issues
Even experts hit snags sometimes. Here’s how I deal with common beeswax conditioning problems I’ve encountered over the years.
Dealing With Excess Wax Build-Up
Been there, done that. If you’ve overdone it, grab a hairdryer. Warm the area gently and wipe off the excess. I once had to do this to an entire jacket – lesson learned! It takes some elbow grease, but it’s fixable.
Addressing Uneven Application
Uneven application can leave splotchy areas. I fix this by gently reheating with a hairdryer and redistributing the wax. Works like a charm every time. Just be patient and work in small sections.
Color Changes And How To Manage Them
Beeswax can darken leather slightly. I always test on a hidden spot first. If it darkens too much, I’ll use less wax or switch to a lighter colored wax. It’s all about finding that sweet spot.
Tackling Stubborn Stains With Beeswax
Beeswax can actually help lift some stains. I’ve had success with oil stains especially. Just apply, let it sit, then buff vigorously. It’s not a miracle worker, but it’s saved a few of my items from the trash heap.
When To Seek Professional Leather Care
Know your limits. I once tried to fix a tear in my leather couch with beeswax. Bad idea. Now, for any serious damage or really valuable pieces, I swallow my pride and call a pro. Sometimes, it’s worth the investment to get it done right.
The Final Buzz
And there you have it, leather lovers – the buzz on using beeswax for leather conditioning! From your treasured vintage jacket to your everyday work boots, beeswax offers a natural, effective way to keep your leather goods looking their best. It’s amazing how this simple product from nature can protect, nourish, and enhance our favorite leather items.
By incorporating beeswax into your leather care routine, you’re not just maintaining your goods; you’re participating in a tradition that spans millennia.
So next time you pull on those perfectly conditioned leather boots or grab that supple leather bag, take a moment to appreciate the humble bees that made it possible.
Remember, with a little beeswax and some TLC, your leather can age like fine wine – getting better and more character-filled with each passing year. Now, go forth and condition with confidence – your leather (and the bees) will thank you!


