Did you know that the average American uses 156 plastic sandwich bags per year? That’s a lot of waste! But here’s the buzz: beeswax food wraps are the eco-friendly alternative taking kitchens by storm.
I’ve been using these nifty wraps for years, and I’m excited to share my tried-and-true method with you. Let’s dive into the world of DIY beeswax food wraps and say goodbye to single-use plastics!
What Are Beeswax Food Wraps?
I stumbled onto beeswax food wraps when I was trying to cut down on plastic in my kitchen. Let me tell you, it’s been a game changer!
Definition Of Beeswax Food Wraps
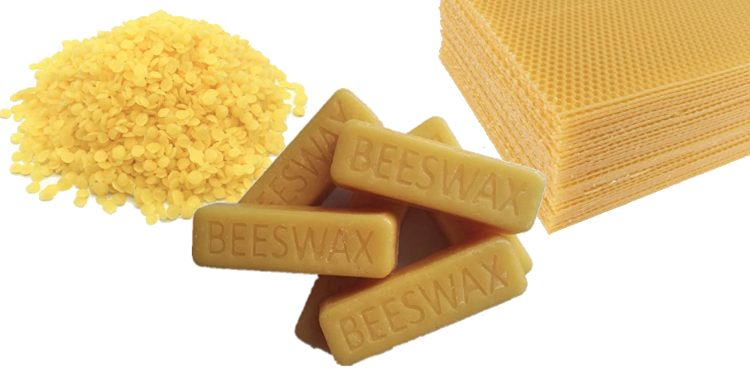
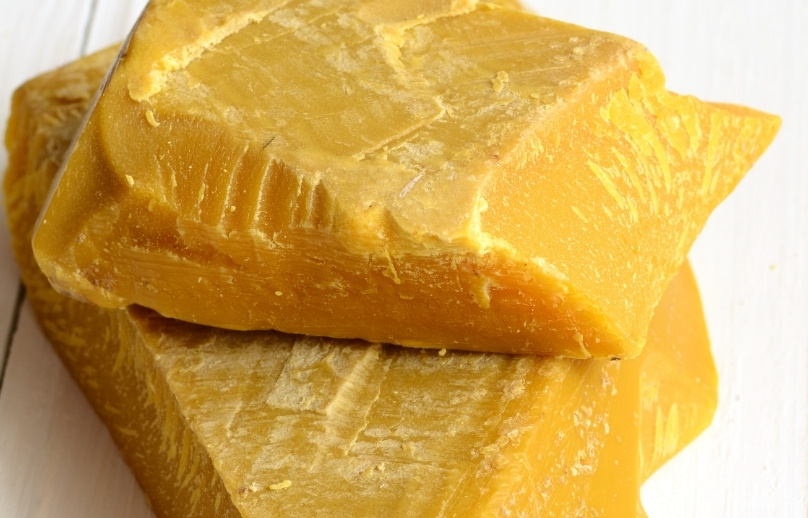
Basically, they’re reusable food covers made from cotton fabric coated in beeswax, often with some oils and tree resin mixed in. They’re pliable when warm and firm when cool, creating a seal around your food. My first attempt at making them was a hot mess – literally! But now I’ve got it down pat.
Benefits Of Using Beeswax Wraps
These wraps are eco-friendly, breathable, and naturally antibacterial. Plus, they keep food fresh longer than plastic wrap. I was skeptical at first, but my half-avocado stayed green for days!
How They Compare To Plastic Alternatives
They’re way better for the environment than plastic wrap or bags. No more guilt about tossing single-use plastics! They don’t create an airtight seal like plastic, which can actually be good for some foods. Just don’t use ’em for raw meat – learned that one the hard way.
Lifespan And Reusability Of Beeswax Wraps
With proper care, these babies last about a year. I wash mine in cool water with mild soap. When they start to wear out, I just re-wax them. It’s a bit messy, but kinda fun. Like a craft project that’s actually useful!
Switching to beeswax wraps isn’t always perfect, but it’s a small change that makes a big difference. Give it a shot – your leftovers (and the planet) will thank you!
Step-By-Step Guide To Making Beeswax Wraps
Alright, let’s dive into making these eco-friendly wonders! I’ve made plenty of mistakes, so learn from my blunders.
- 1. Preparing Your Workspace
First things first, cover everything. I mean it. The first time I made wraps, I got wax all over my kitchen table. Not fun. Use old newspapers or a disposable tablecloth. And wear clothes you don’t mind getting waxy!
2. Cutting And Sizing The Fabric
I like to make various sizes. Small ones for lemon halves, big ones for bowls. Pro tip: use pinking shears to prevent fraying. I didn’t at first and ended up with sad, stringy edges.
3. Melting The Beeswax Mixture
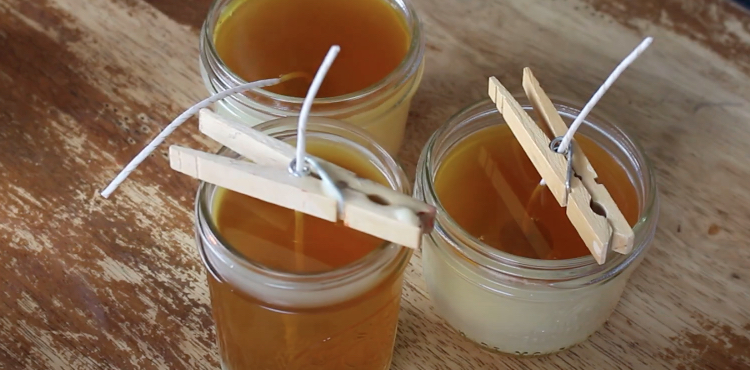
This part’s tricky. I use a double boiler now, but I started with a tin can in a pot of water. Just don’t let the wax get too hot, or it’ll smoke. Trust me, beeswax smoke is not a pleasant smell!
4. Applying The Wax To The Fabric
I use a paintbrush to spread the wax evenly. My first attempt was so lumpy, it looked like a wax mountain range! Aim for a thin, even coat. It takes practice, but you’ll get there.
5. Drying And Setting The Wraps
Hang ’em up to dry. I strung a clothesline in my kitchen. Just don’t put them over carpet – I dropped a wet one and now have a waxy patch on my rug. Oops!
Remember, it might take a few tries to get it right. But once you do, you’ll be wrapping everything in sight!
Customizing Your Beeswax Wraps
I’ve gotta tell ya, making my own beeswax wraps really changed how I store food! But the real fun started when I began customizing them. Let me share some tips I’ve picked up along the way.
Choosing Fun And Functional Fabric Patterns
When I first started, I went a little crazy with the patterns. Turns out, those neon leopard print wraps weren’t exactly appetizing. Now I stick to food-themed prints or nature-inspired designs. They look great in the fridge and make me smile every time I grab a snack.
Adding Essential Oils For Scent
Here’s a cool trick I learned: add a few drops of essential oil to your beeswax mixture. Lemon oil keeps things fresh, while lavender is great for storing baked goods. Just don’t go overboard like I did – nobody wants their sandwich tasting like a potpourri factory!
Creating Different Sizes For Various Uses
Trust me, you’ll want a variety of sizes. I make tiny ones for covering half a lemon, medium ones for sandwiches, and huge ones for big bowls of leftovers. It took some trial and error, but now I’ve got the perfect wrap for everything.
Personalizing Wraps As Gifts
These make awesome gifts! I love adding a little personal touch, like embroidering initials or using fabric with the recipient’s favorite animal. Just be careful with the iron-on patches – I may have melted one or two in the process.
How To Use And Care For Your Beeswax Wraps
Let me tell you, when I first got my hands on beeswax wraps, I was clueless. But after some fumbles (and a few waxy messes), I’ve figured out the ins and outs. Here’s what I’ve learned:
Proper Usage Techniques
The trick is to use the heat from your hands to mold the wrap. I once tried using a hairdryer – big mistake! Just warm it up with your palms and press it snugly around your food or container. It’s like giving your leftovers a little hug.
Cleaning And Maintenance Tips
Cleaning these bad boys is super easy. I just use cool water and a gentle soap. Hot water’s a no-no – learned that when I melted one in the dishwasher. Oops! Pat them dry and they’re good to go. No scrubbing needed, which is great for a lazy cook like me.
Storing Your Wraps
I keep mine rolled up in a drawer. At first, I’d just toss ’em anywhere, but they’d get all creased and weird. Rolling helps ’em stay flat and ready to use. Plus, it looks kinda neat and organized, which is rare in my kitchen!
Refreshing And Rewaxing Old Wraps
After a while, your wraps might lose their cling. No worries! I pop mine in the oven on low heat with a sprinkle of beeswax. It’s like giving them a little spa day. Just watch ’em closely – I may have dozed off once and woke up to a waxy puddle. Not my finest moment!
Troubleshooting Common Issues
Alright, let’s talk about when things go sideways with your beeswax wraps. I’ve had my fair share of wrap disasters, so I’ll share some hard-earned wisdom.
Dealing With Uneven Wax Distribution
Ever ended up with a wrap that looks like a waxy mountain range? Been there. I’ve found that reheating the wrap in the oven and using a brush to spread the wax works wonders. Just be careful – I once got distracted and turned my favorite wrap into a crispy cracker.
Fixing Wraps That Are Too Stiff Or Too Soft
Too stiff? Add a bit more jojoba oil. Too soft? More beeswax is your friend. It’s like Goldilocks – you gotta find that just right balance. I spent weeks perfecting my recipe, and let me tell you, my family was pretty sick of hearing about beeswax by the end.
Addressing Mold Or Odor Problems
Ugh, nothing worse than stinky wraps. If you spot mold, toss it. For odors, try sunning them outside. I once left a wrap in the sun all day and came back to a puddle. Lesson learned: sun is good, but don’t overdo it!
When To Replace Your Wraps
Even with TLC, wraps don’t last forever. If they’re losing their cling or starting to look ratty, it’s time to say goodbye. I used to get weirdly attached to mine, but trust me, fresh ones work so much better.
The Final Buzz
There you have it – your complete guide to creating and using beeswax food wraps! By making the switch to these eco-friendly alternatives, you’re not just wrapping your food; you’re wrapping your arms around our planet.
Remember, every small step towards sustainability counts. Why not start by making your first set of wraps this weekend? Your future self (and the Earth) will thank you! Don’t forget to share your creations with friends and family – spread the eco-love!


