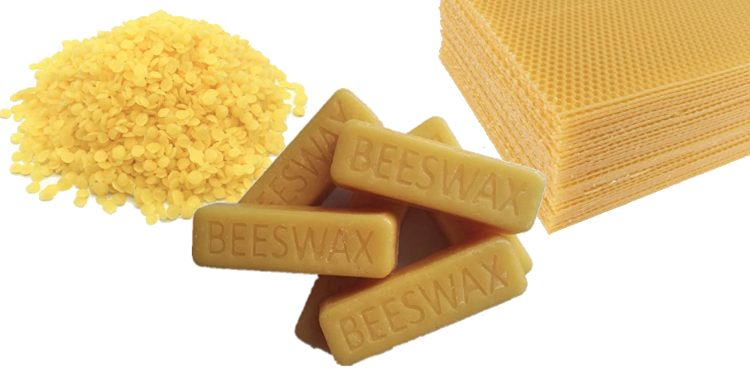
Ah, the golden treasure of the hive – beeswax! Did you know that bees must consume about 8 pounds of honey to produce just 1 pound of wax?
Talk about a labor of love! Whether you’re a beekeeper with frames to clean or a crafter ready to dive into the world of candles and balms, mastering the art of melting beeswax is your ticket to success.
But beware – one wrong move and you could end up with a waxy mess or worse, a fire hazard!
In this guide, we’ll walk you through the ins and outs of melting beeswax like a pro. Get ready to turn that raw, golden goodness into liquid gold!
Beeswax: Properties and Precautions
Let me tell you, working with beeswax has been quite the adventure! When I first started, I had no idea how complex this stuff could be.
Composition Of Beeswax: What Makes It Unique
Beeswax is like nature’s miracle material. I remember being amazed when I learned it’s made up of over 300 different compounds. No wonder it’s so versatile!
The main components are esters, hydrocarbons, and fatty acids. It’s this unique blend that gives beeswax its special properties.
Melting Point And Temperature Sensitivity
Here’s a fun fact I learned the hard way: beeswax melts around 145°F (63°C). I once left some in my car on a hot day and came back to a gooey mess! It’s super sensitive to temperature changes, which can be both a blessing and a curse when working with it.
Safety Considerations: Flammability And Handling
Now, let’s talk safety. Beeswax is flammable! I had a small scare when I overheated some on the stove. It can ignite if it gets too hot, so always use a double boiler. And trust me, you don’t want that stuff on your skin when it’s hot – it’ll stick like nobody’s business!
Different Grades Of Beeswax And Their Uses
As for grades, there’s quite a range. I started out using whatever I could get my hands on, but soon realized different grades are best for different projects. Cosmetic grade is great for lip balms, while lower grades work fine for candles. It’s all about matching the wax to the job.
Working with beeswax has taught me a ton about patience and respect for this amazing natural product. Just remember to take it slow and stay safe!
Choosing Your Melting Method
When I first started melting beeswax, I was like a kid in a candy store – excited but clueless! Let me share what I’ve learned about different melting methods.
Double Boiler Technique: The Safest Option
The double boiler method was my go-to method until I investing in a commercial wax melter. Beeswax is very flammable, and also sensitive to excess heat. Using a double boiler will prevent hot spots from developing that could ignite or discolor the wax.
Just pop your wax in a heat-safe container, place it in a pot of water, and voila! Slow and steady wins the race here.
Slow Cooker Method: For Larger Batches
Now, for bigger batches, the slow cooker (crockpot) is the way to go. It’s great for those times when you’ve got a ton of wax to melt. Just set it and forget it – well, not really, but you know what I mean.
Wax Melter
If you are going to be melting a lot of wax you might want to consider getting a wax melter. They can be a solid investment and the price for a decent one ranges from about $30 all the way up to whatever you want to spend. They come with some really handy features!
Solar Melter: Eco-Friendly Wax Rendering
The solar melter is for all you earth-loving beekeepers out there. I built one last summer and felt like a eco-warrior! It’s basically a box with a glass top that uses the sun’s heat. It’s slower than molasses in January, but man, does it make you feel good about your carbon footprint.
Direct Heat Method: When And How To Use Cautiously
Lastly, there’s the direct heat method. I’ll be honest, this one makes me nervous. It’s like playing with fire – literally! I only use this when I’m in a real pinch and need wax melted fast. If you go this route, keep that heat low and watch it like a hawk.
Remember, whichever method you choose, safety first! Melting wax is fun, but not if you end up with a waxy disaster in your kitchen.
Essential Equipment for Melting Beeswax
Let me tell you, when I first started melting beeswax, my kitchen looked like a mad scientist’s lab! But over time, I’ve figured out what gear really makes a difference.
Dedicated Wax-Melting Containers
First up, you gotta have dedicated wax-melting containers (I prefer stainless steel). I learned this the after ruining my favorite pot. Oops! Now I use an older pot or thrift store finds. They’re perfect for melting wax and you won’t cry if they get a bit crusty.
Thermometers For Precise Temperature Control
Thermometers are the way to go. I used to guess the temp and ended up with some funky results. Once, I overheated a batch and it smelled like burnt honey for days! A good thermometer keeps you in that sweet spot between too cool and scorched.
Straining Materials: From Cheesecloth To Fine Mesh
If you are rendering wax straight from your beehive straining is where the magic happens. I started with an old t-shirt (don’t judge!), but quickly upgraded to cheesecloth. Now I swear by fine mesh strainers to filter of the debris. They catch all those little bits of propolis and bee parts you don’t want in your final product.
Molds And Containers For Cooled Wax
For cooling and storing, I’ve tried everything from ice cube trays to fancy silicone molds. Here’s a tip: flexible molds are your friend. Nothing’s worse than trying to pry out a stuck piece of wax! I keep a variety on hand for different projects.
Remember, you don’t need top-of-the-line gear to get started. Half the fun is figuring out what works best for you. Just be prepared for a few waxy mishaps along the way – it’s all part of the learning process!
Step-by-Step Guide to Melting Beeswax
Let me walk you through the steps to melting beeswax – it’s quite the adventure!
1. Preparing Your Workspace For Safety
First up, safety. I learned this after nearly torching my kitchen! Find a well-ventilated spot away from flammables. Keep a fire extinguisher handy and wear old clothes. Beeswax stains are stubborn little buggers!
2. Cleaning And Preparing Raw Beeswax
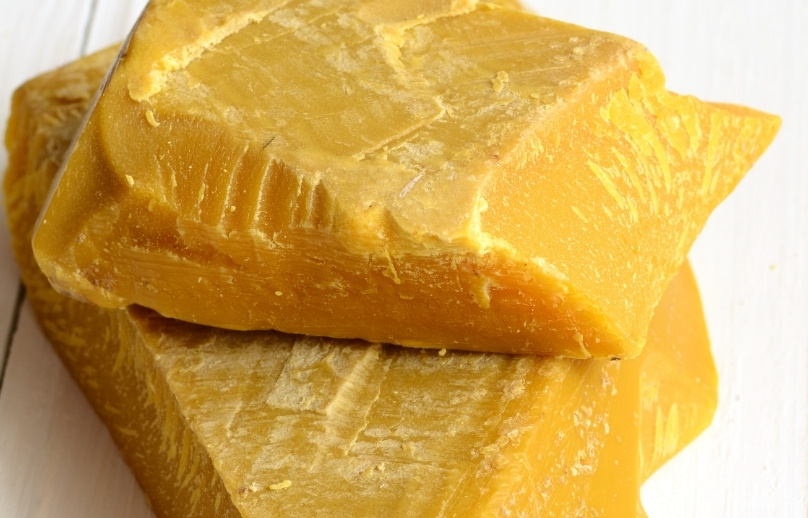
Raw beeswax can be messy. Break it into small chunks – I use a hammer and cutting board. It’s great for stress relief! Or sometimes I stick a sharp knife in a section of the block and wiggle it until it breaks apart.
Rinse it under cool water. Hot water’s a no-go unless you want a premature melty mess.
3. Controlling Temperature Throughout The Process
Temperature control is crucial. I swear by the double boiler method. It’s like training wheels for wax melting. Fill a large pot with water, put your wax in a smaller container inside.
Heat it slow and steady to about 145°F (63°C). I once got distracted and overheated a batch – my kitchen smelled like burnt honey for days!
4. Straining And Purifying Melted Wax
If you purchased beeswax you don’t have to worry about this step. If you are using your own rendered beeswax it’s straining time! This is where the magic happens. Use a fine mesh strainer lined with cheesecloth.
Pour the melted wax through into another clean container. You might need to do this a couple times. The first time I strained wax, I was shocked at how much gunk came out!
Cooling And Storing Liquid Beeswax
Home stretch now. Let your wax cool slowly at room temp. Rapid cooling can cause weird textures – trust me, I’ve made that mistake.
There you have it! Your guide to melting beeswax like a champ. Remember, every batch is a learning experience. I still goof up sometimes, but that’s part of the fun.
Soon you’ll be a wax-melting wizard, creating all sorts of cool stuff. Just don’t blame me when you get hooked on that sweet, honey-like smell.
A Few Tips On Melting Bees Wax
1. Stainless Steel Recommended By Not Necessary
You don’t have to use stainless steel for melting beeswax.
The reason that stainless steel is recommended so often is because it will not discolor the beeswax, while certain other metals will.
Avoid Iron, Nickel and Copper
For example, if you use a container that has iron, nickel or copper in it, the beeswax will probably be darkened. In addition to stainless steel, aluminum can be used without discoloring the wax. Enameled steel pots are also O.K.
If you’re not sure about the composition of a container you’re considering using, you could melt a very small amount of wax to see whether it is darkened.
If you’re going to need to melt beeswax more frequently than just a time or two, I’d highly recommend this purpose-made product.
2. Electric Heat Is Best
It’s best to always use electric stove or heat for melting beeswax. Open flame and beeswax is a very dangerous combo. If some of the wax were to accidentally be spilled into the fire, you’d have an instantaneous raging inferno – almost akin to throwing gasoline on a fire.
And though I’ve never seen it happen (fortunately!), I’ve read that even the gases that can be emitted from beeswax when it gets too hot can be ignited by open flame, causing an explosion.
A properly grounded hotplate on the driveway, patio, or other open area is the safest (and easiest to clean) setup for melting beeswax.
3. Don’t Use Your Best Cookware
Keep in mind, too, that beeswax can stick very tenaciously to the container it’s melted in. So you might want to avoid using your best cookware for this project.
Troubleshooting Common Beeswax Melting Issues
Let me tell you, working with beeswax can be a real pain sometimes. I’ve had my fair share of mishaps, but hey, that’s how we learn, right? Let me walk you through some common issues I’ve faced and how I’ve dealt with them.
Dealing With Discoloration And Impurities (Doesn’t Apply to Clean Beewax)
Ever melted your wax only to find it looking like muddy water? Ugh, been there. I’ve found that straining it through a fine mesh while it’s still liquid works wonders. Pro tip: cheesecloth is your best friend here.
Preventing And Fixing Crystallization
This one had me scratching my head for ages. Turns out, rapid temperature changes are the culprit. I learned to cool my wax slowly and evenly. If you do end up with crystals, just remelt and cool again – patience is key!
Managing Wax That’s Too Hot Or Cool
Getting the temperature just right is tricky. Too hot, and you’ll get that awful burnt smell. Too cool, and it won’t pour right. I invested in a good thermometer and it’s been a game-changer. Aim for around 145°F – 160°F, depending on what you’re making.
Cleaning Up Spills And Equipment
Spills happen, trust me. I once dropped a whole pot of melted wax – what a mess! For cleanup, I swear by hot water and a little dish soap. For stubborn spots, a bit of vinegar does the trick. And don’t forget to clean your tools while they’re still warm!
Remember, practice makes perfect. Don’t get discouraged if things don’t turn out right the first time. Keep at it, and before you know it, you’ll be a beeswax pro!
Creative Uses for Melted Beeswax in 2024
Wow, has beeswax come a long way! When I first started tinkering with this stuff, I had no idea how versatile it could be. Let me share some cool DIY ways I’ve been using it lately.
Eco-Friendly Food Wraps: A Sustainable Kitchen Trend
I’m all about cutting down on plastic, and these beeswax wraps are a favorite in my house. I whipped up a batch last month, and now I’m wrapping everything from cheese to sandwiches. It’s pretty simple – just melt the wax, brush it on cotton fabric, and voila! My kitchen’s never smelled so good.
Natural Cosmetics: From Lip Balms To Lotions
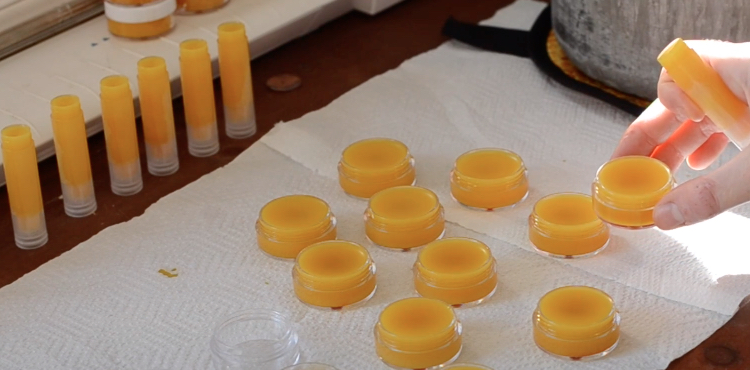
Ever since my skin went haywire from store-bought stuff, I’ve been making my own. Beeswax is amazing for this. I’ve concocted some killer lip balms (my friends keep “borrowing” them), and I’m working on perfecting a hand lotion. Word to the wise: start with small batches. I ended up with way too much my first go-round!
Candle Making: Traditional And Innovative Techniques
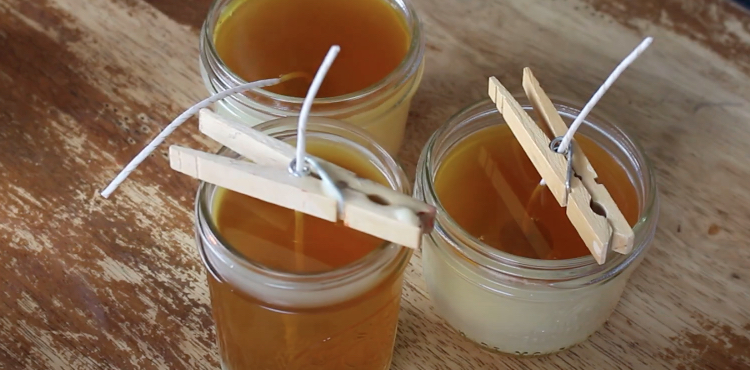
Beeswax candles were my gateway into the beeswax world. Started with basic pillars, but now I’m experimenting with all sorts of molds. Last week, I tried making a honeycomb-shaped one – it didn’t turn out perfect, but it sure looked cool. Nothing beats the fragrance, the house smells amazing when they’re burning, too.
Batik And Encaustic Art: Wax In Creative Expression
This is my newest obsession. I’m no Picasso, but there’s something so satisfying about painting with wax. I’ve ruined a few shirts trying batik (oops), but my encaustic experiments are starting to look half-decent. It’s messy, but man, is it fun.
Who knew beeswax could be so exciting? If you’re on the fence about trying it out, just go for it. You might surprise yourself with what you can create!
The Final Buzz
And there you have it, wax wizards! You’re now armed with all the knowledge you need to melt beeswax like a pro. Remember, patience is key when working with this golden wonder – rush the process, and you might find yourself in a sticky situation!
Whether you render beeswax for your beekeeping operations or crafting beautiful, natural products, the versatility of beeswax is truly amazing. So fire up that double boiler, grab your thermometer, and let’s get melting! Happy melting, and may your endeavors be as smooth as, well, melted beeswax!


